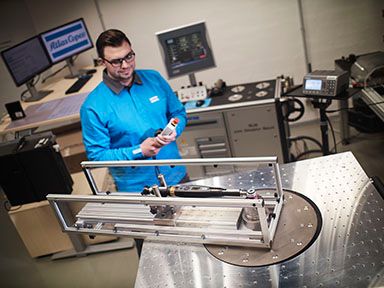
A Machine Capability Analysis will verify and document the accuracy and repeatability of all quality relevant parameters, for a new or modified machine.
How do we perform a Machine Capability Analysis?
Three-steps procedure
Three-steps procedure
Downloads
- Machine Capability Analysis - Leaflet 1.8 MB, PDF
Frequently Asked Questions
Why perform a Machine Capability Analysis?
Compared to tightened joints, bonding processes are considered "special processes" since 100% verification of their results is impossible without destroying the bonded part. Therefore extra monitoring and traceability of quality relevant parameters according to international standards (e.g., DIN 2304 & ISO 21368) is recommended. Where bonding errors occur, a Machine Capability Analysis of the dispensing system provides proof of functionality that can be used as a safeguard to exclude the machine itself as the root of the error.
Why perform a Machine Capability Analysis right after installation?
Performing a Machine Capability Analysis before the system is put into operation ensures an optimal set-up of parameters for A & B materials, such as pre-application pressures and application flows. It also provides a secure handover of the completely functional dispensing system for project finalization.
Why perform Machine Capability Analysis regularly?
Regularly performing a Machine Capability Analysis will provide check-ups of accuracy and repeatability and thus maintain your system's high quality. Additionally, in case of errors, the Machine Capability Analysis report can complement root-cause analysis and problem-solving by excluding or identifying the dispensing system as a source of the error.
What do I get in the Machine Capability Analysis report?
After performing a Machine Capability Analysis, our technicians will provide a Test Report. The report is available for 1K and 2K systems and includes the following:
- 50 sample results following testing sessions,
- Transparent presentation of all weighting results,
- Determination of the best possible controllable tolerances for volume and mixing ratio,
- Visual presentation of standard distribution and chronological distribution of all results.
What are common bonding process standards? What is ISO 21368?
Industrial norms like ISO 21368 specify requirements for quality appropriate execution of bonded joints. ISO 21368 also provides recommendations for general organizational and reporting procedures for professional production in workshops and onsite. It includes maintaining quality standards in fabrication, keeping records, and enabling complete documentation.
What is DIN 2304 for adhesive bonding processes?
DIN 2304 is a standard that focuses on high-quality adhesive bonding processes. Unlike some standards that concentrate solely on material properties or specific applications, DIN 2304 covers all aspects of the bonding process. It addresses design, manufacturing, and maintenance, emphasizing reproducibility and quality. The goal is to ensure effective, durable, reproducible bonding, emphasizing proper application techniques and organizational aspects.
What does Cm & Cmk mean?
The machine capability index, also known as Cm & Cmk, is used to indicate the capability of a machine and is derived from data collection taken during a continuous production run. It is closely related to the commonly known Cp and Cpk, which measure long-term capability over a process.
Cm represents the spread of the result values within the tolerance width, while Cmk gives insight into the machine’s capability in relation to the tolerance limit.


